Magnet Hack #1
Avoid drilling into the wall: use metal & magnets instead.
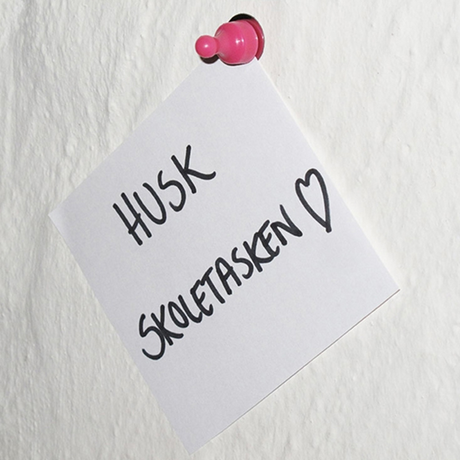
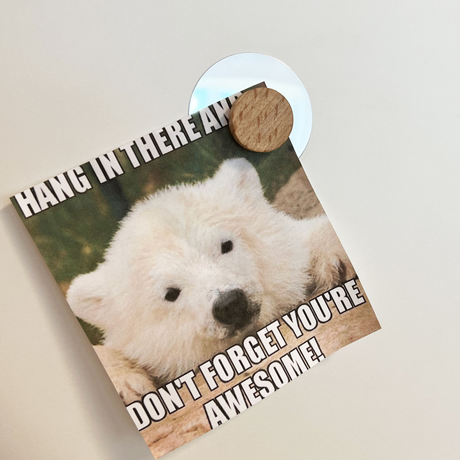
You don't always need to use nails and screws to successfully hang something on the wall. Often this can be done with metal and magnets. In the first hack, we show how, with something as simple as a metal paper clip and tape, you can make the wall magnetic enough to be able to hang a poster with small magnets afterwards.
Obviously, the heavier the items to be hung, the larger the metal and magnets you need. But the trick with posters is to show in an easy way how little is sometimes needed. And it may even be that you already have magnetic points in your home, because if there are metal beams or nails and screws in walls and ceilings, they can also be used as a magnetic counter pole when you need to hang smaller things without drilling new holes.
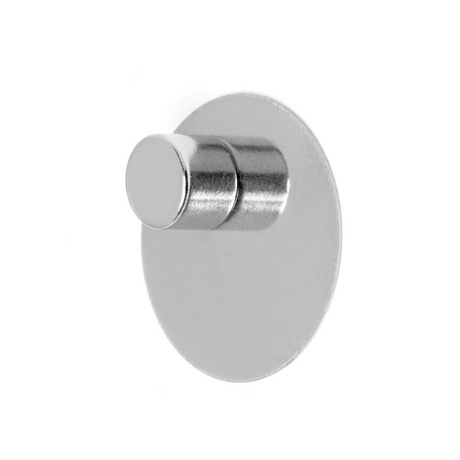
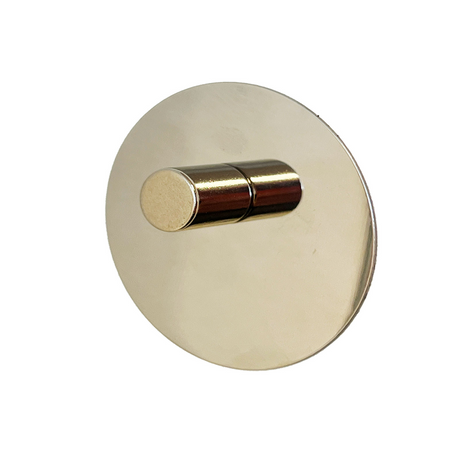
In the product overview above, we have shown the most used magnets for hanging posters etc. Feel free to contact us if we have to count on another type of magnet need in the same ballpark.
Magnet Hack #2
Tidy up the bathroom: use self-adhesive magnetic tape.
The coolest projects are usually the simplest, and it doesn't get much simpler than this: take a magnetic strip (or magnetic tape) and figure out where it can sit. Clean the surface with isopropyl alcohol (e.g. a 3M cleaning wipe) and when the surface is completely dry, remove the foil on the adhesive side of your magnetic strip and press the magnetic strip firmly all over so that there are no air bubbles on the back of the the glue. Although it's tempting to use it right away because the glue is good, wait 24 hours before using it properly so you're sure the setup won't fall off.
After the drying time has ended, you can set up things such as nail file, nail scissors, small metal cans with flat bottoms as well as hair pins and hair clips. In fact, all small things made of pure metal. And as if that is not enough, there are also many makeup brands that have started to put small magnets in their product packaging; so of course it can also be hung on this magnetic strip. And otherwise you can use our magnetic pen holder to make things magnetic.
The advantage of thick magnetic tape instead of a metal strip is that the metal strip is only magnetic but not a magnet in itself. Magnetic tape, on the other hand, has mixed poles on the entire surface and therefore also acts as a magnet in itself.
Magnet Hack #3
Manage the cords: easily make a fun cord holder.
If you follow our newsletter or our YouTube channel, you've definitely come across this hack before. But we're bringing it back because it's so simple and brilliant. And it shows how easily you can make non-magnetic things magnetic.
In the video we have taken 2 small block magnets size 6x4x2 mm and glued them to each leg of a LEGO man. As in hack no. 2, it requires a little patience because the glue needs to dry. We can recommend UHU Max Repair super glue, which is very suitable for magnets (never use hot glue gun or second glue, which is not intended for magnets and metal - it can destroy the magnetism due to heat and chemical reaction). It is easiest to explain in steps , how to do it, so you do it in the right order and don't make it too difficult for yourself:
First, you lay your LEGO man ready on his back with his legs in the air.Then you take your magnets, put them side by side (can only turn 1 way, so you can't do it wrong) and scratch them quite lightly with fine-grained sandpaper on the end that you want to glue up in the LEGO legs.
Then you put a small dab of glue in each leg of the LEGO man - there should be just enough to surround each magnet, but not so much that it seeps out of the holes in the side of the legs.
Then you take a magnet in each hand and put it in each leg - it's best to do it at the same time, so you don't find that the magnets slip between your fingers - because they really want to be attracted to each other, so it takes a little focus to put both magnets in LEGO legs.
Let the glue dry for 48-72 hours before you use your LEGO man. You can then hang him on metal lamps, filing cabinets, magnetic boards and much more - and he is brilliant as a cord holder for e.g. mobile charging cable or USB cable. But he's also fun for planning boards if you want to show teams or the family with different types of figures.
 €1,12Unit price /UnavailableIn stockMAGZ-902-E
 €6,12Unit price /UnavailableIn stockMAGZ-193-P
 Strength 640 g.€1,37Unit price /UnavailableIn stockMAGZ-417-P